Getting Started
We have a domo website, which is based on ContentBoot.
You can follow this guide to build a ContentBoot project for the demo website.
TIP
We recommend you read Glossary firstly to get a basic concept.
1. Analyse Website
Let's look at the domo website. It is a simple website, has 4 pages home page, projects page, project detail page and about page.
- home page: it has some texts and links some featured projects.
- projects page: it just shows all projects.
- project detail page: it shows the images and texts of a project.
- about page: it just shows a simple description.
We will create 3 templates:
- HomePage: it refers the fields of home page.
- Project: it refers the fields of project.
- AboutPage: it refers the fields of about page.
TIP
Projects page just shows all projects, usually we do not create the template for projects page.
And we will also create 3 document groups.
- home page: it uses template
HomePage, it is a single document group. - projects: it uses template
Project, it is a multiple document group and contains all projects. - about page: it uses template
AboutPage, it is a single document group.
2. Create Project
Login ContentBoot and click the Add project button to add a project.
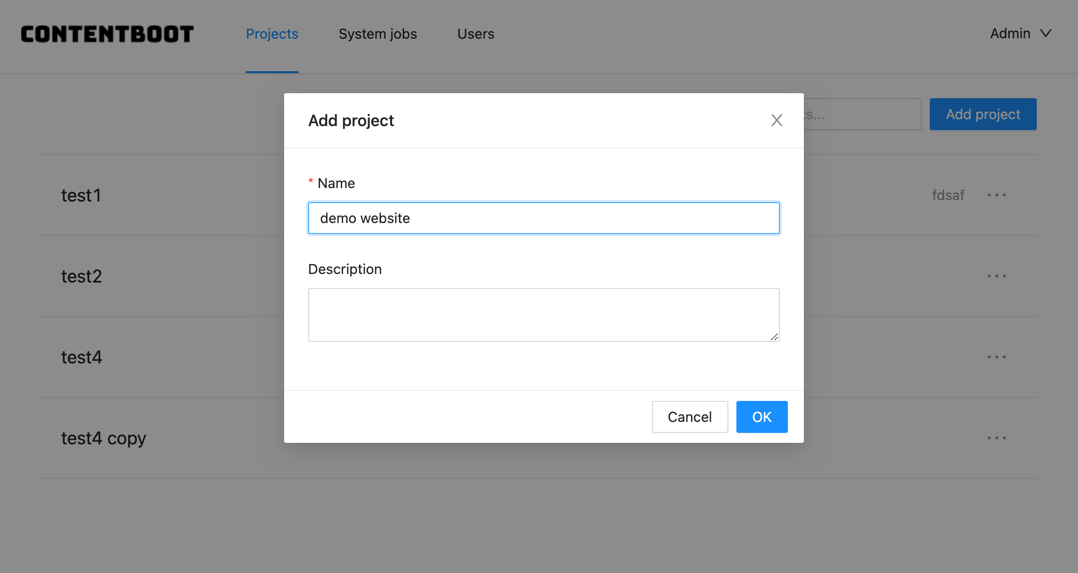
3. Create Templates and Document Groups
Now, we start to create templates and document groups.
Usually, we create template and document groups from bottom to top. Since HomePage template will refer projects document group, so we will create projects stuffs firstly.
3.1 Projects
Select Templates in menu then click Add template button to add a template.
Fill the name and data key.
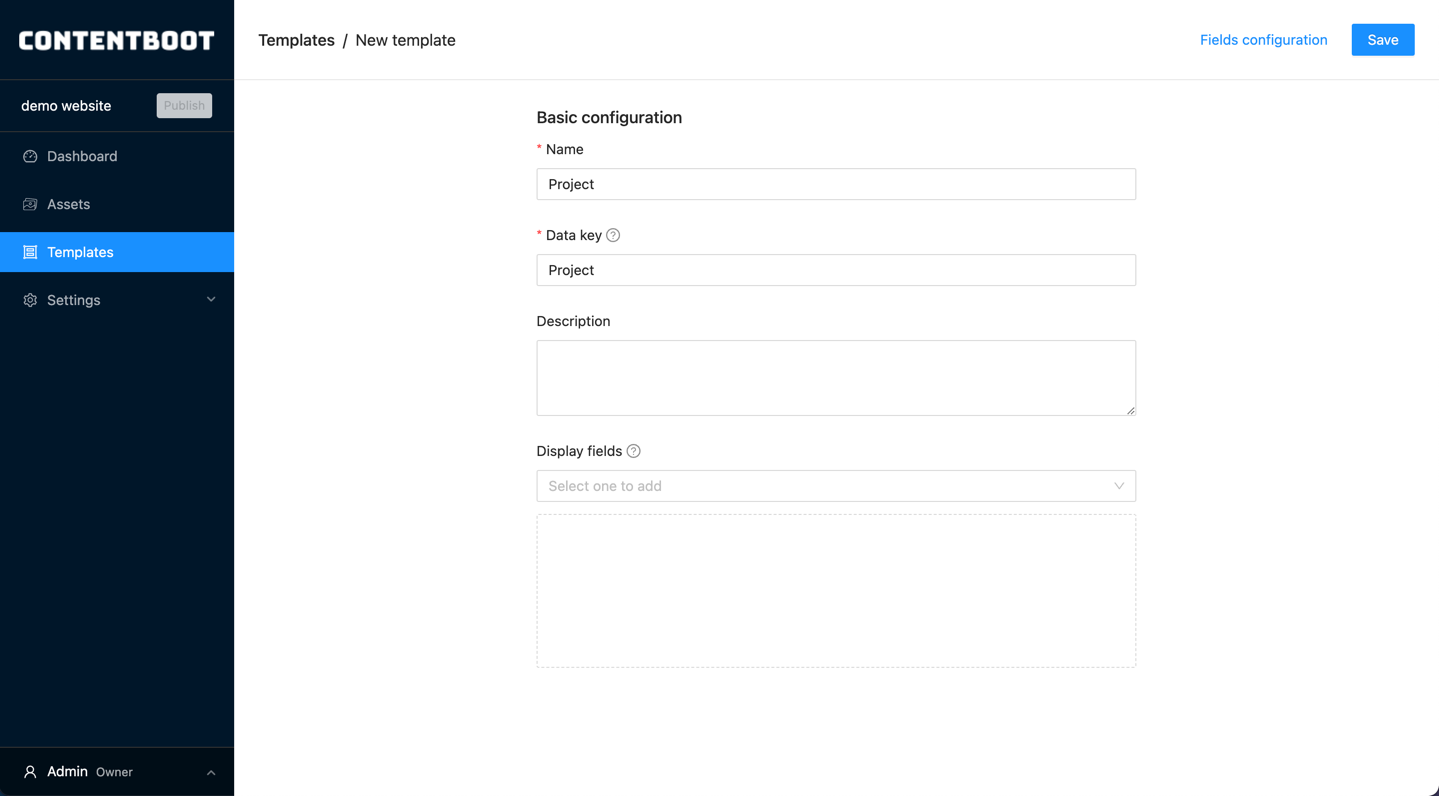
Click the Fields configuration to config the fields.
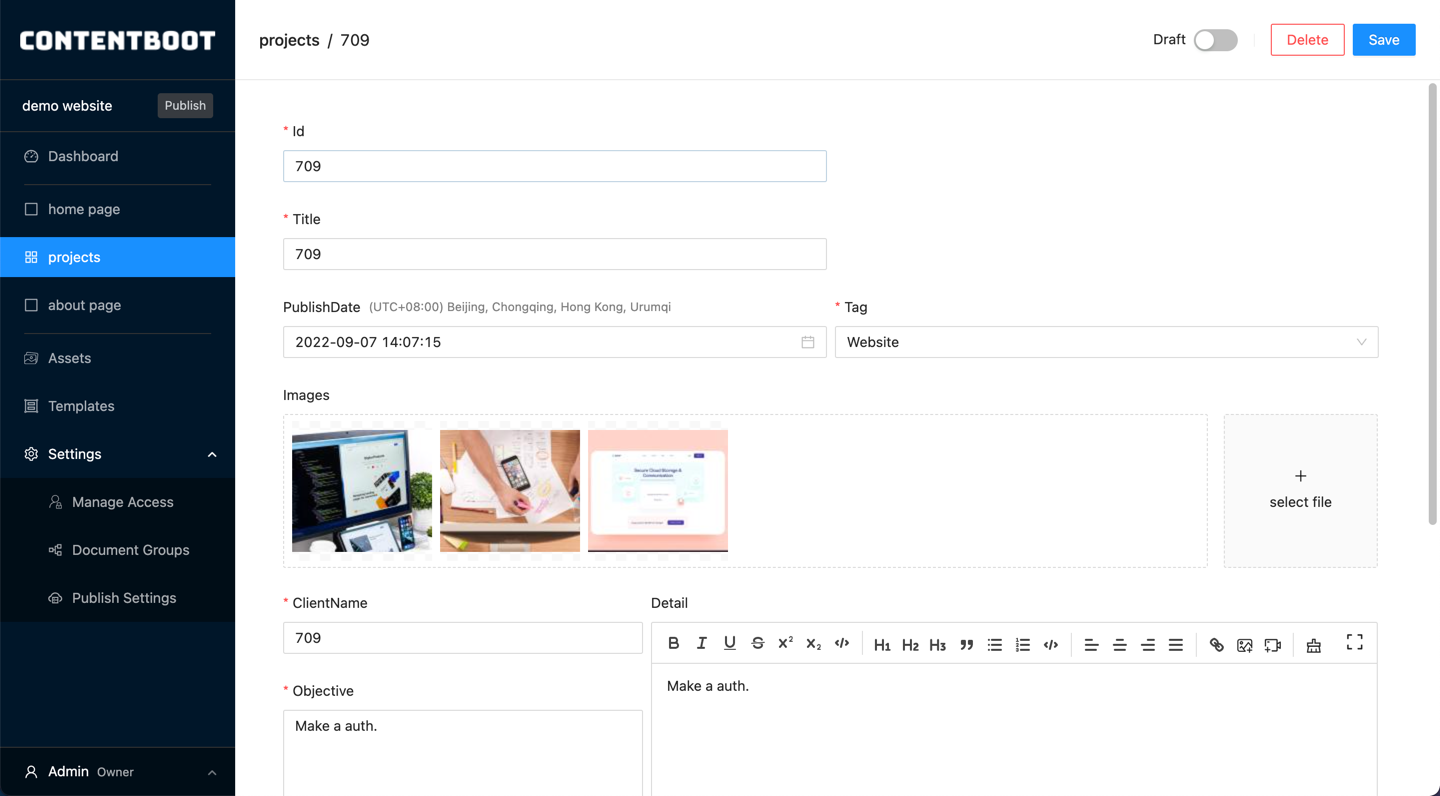
id: Texttitle: TextpublishDate: Date Time Pickertag: Selectimages: Multiple Files SelectclientName: Textobjective: Textareatechnologies: Custom Text Listdetail: HTML Editor
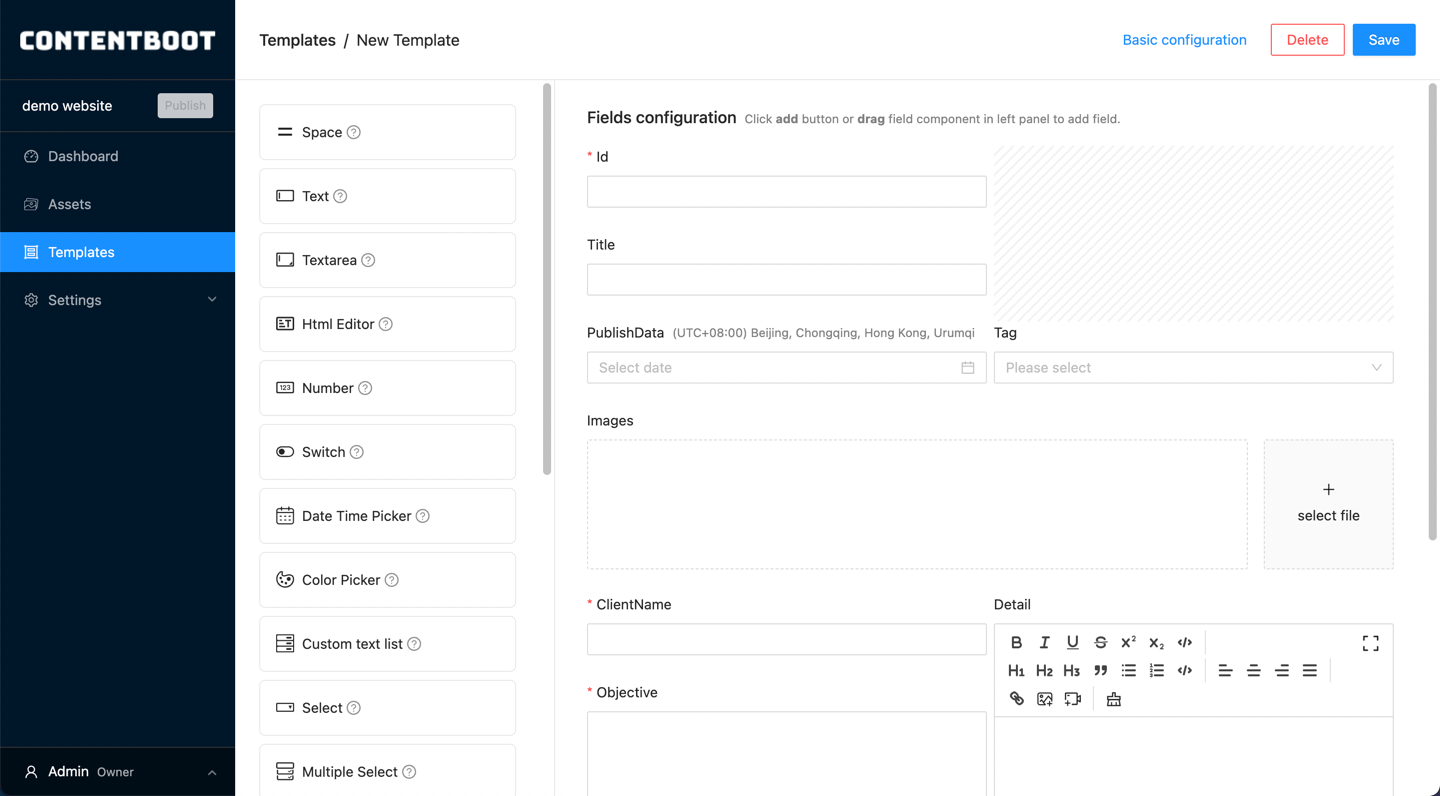
Click Save to save the template.
Select Settings > Document Groups in menu then click Add sub group to add a document group.
Fill the name and data key. Set mode as multiple documents then select template Project in templates select.
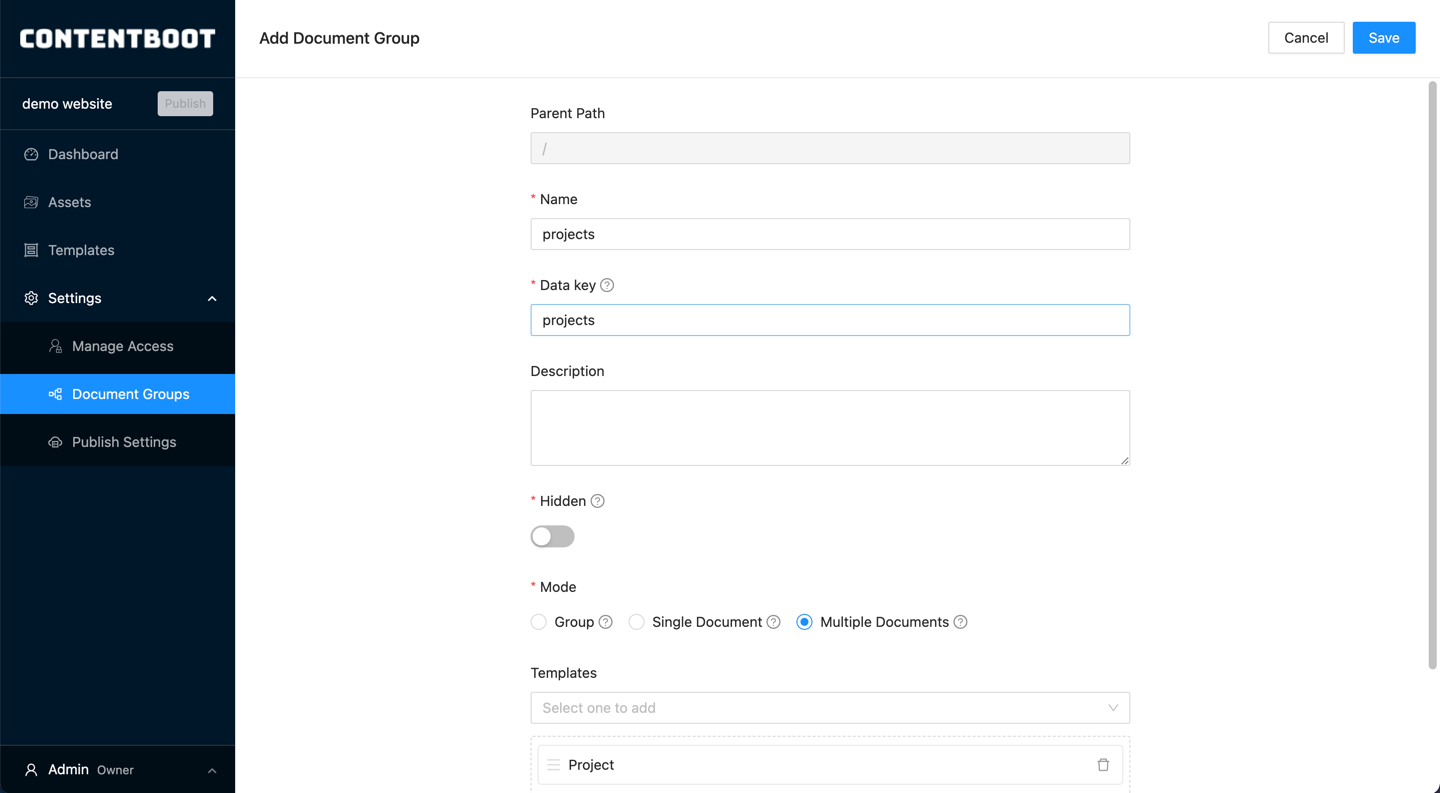
Click Save to save the document group.
You can see the document group projects shows in menu.
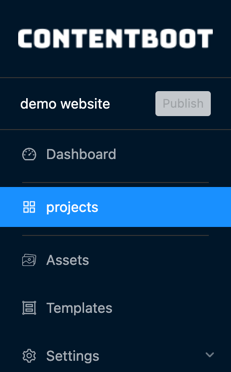
3.2 Home Page
Like 3.1 Projects, create a template HomePage and config the fields.
getStartedUrl: TextfeaturedProjects: Multiple Documents Select, set document group asprojectsin options tab.
Create home page document group, set mode as single document then select template HomePage in template select.
3.3 About Page
Like 3.1 Projects, create a template AboutPage and config the fields.
introduction: Textarea
Create about page document group, set mode as single document then select template AboutPage in template select.
4. Create Publish Profile
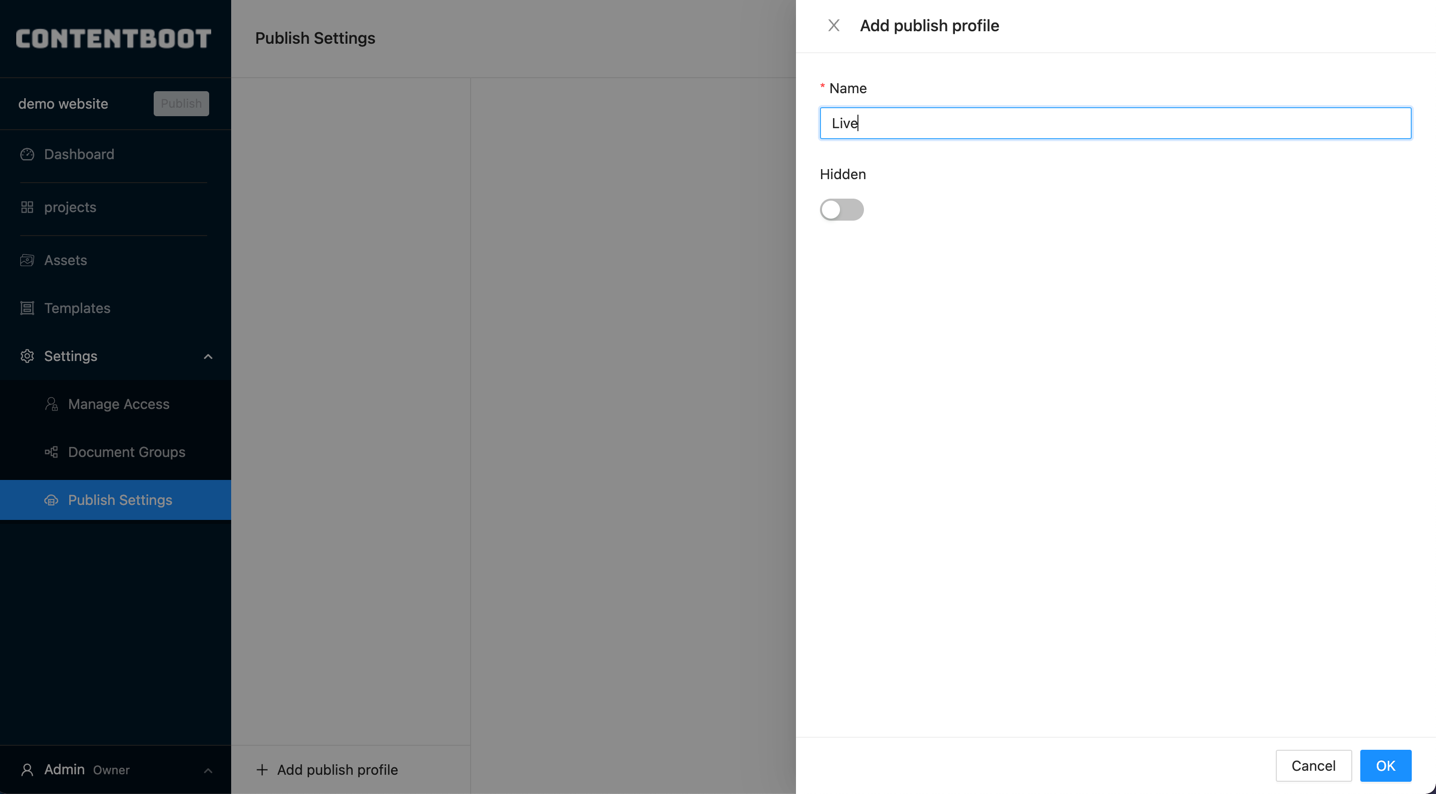
Select Settings > Publish Settings in menu. Click Add publish profile to add a profile.
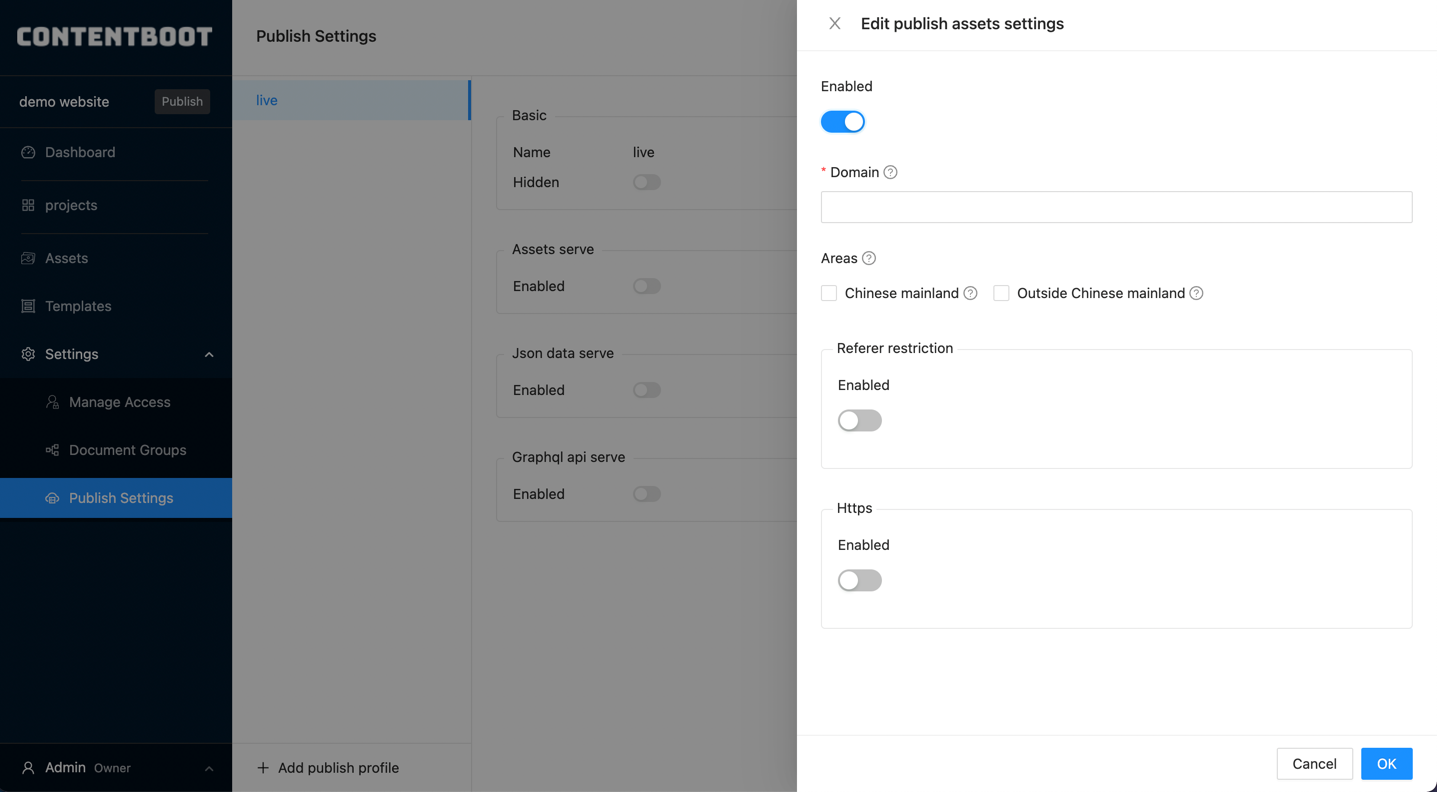
Click the edit button in Assets serve to config the assets settings.
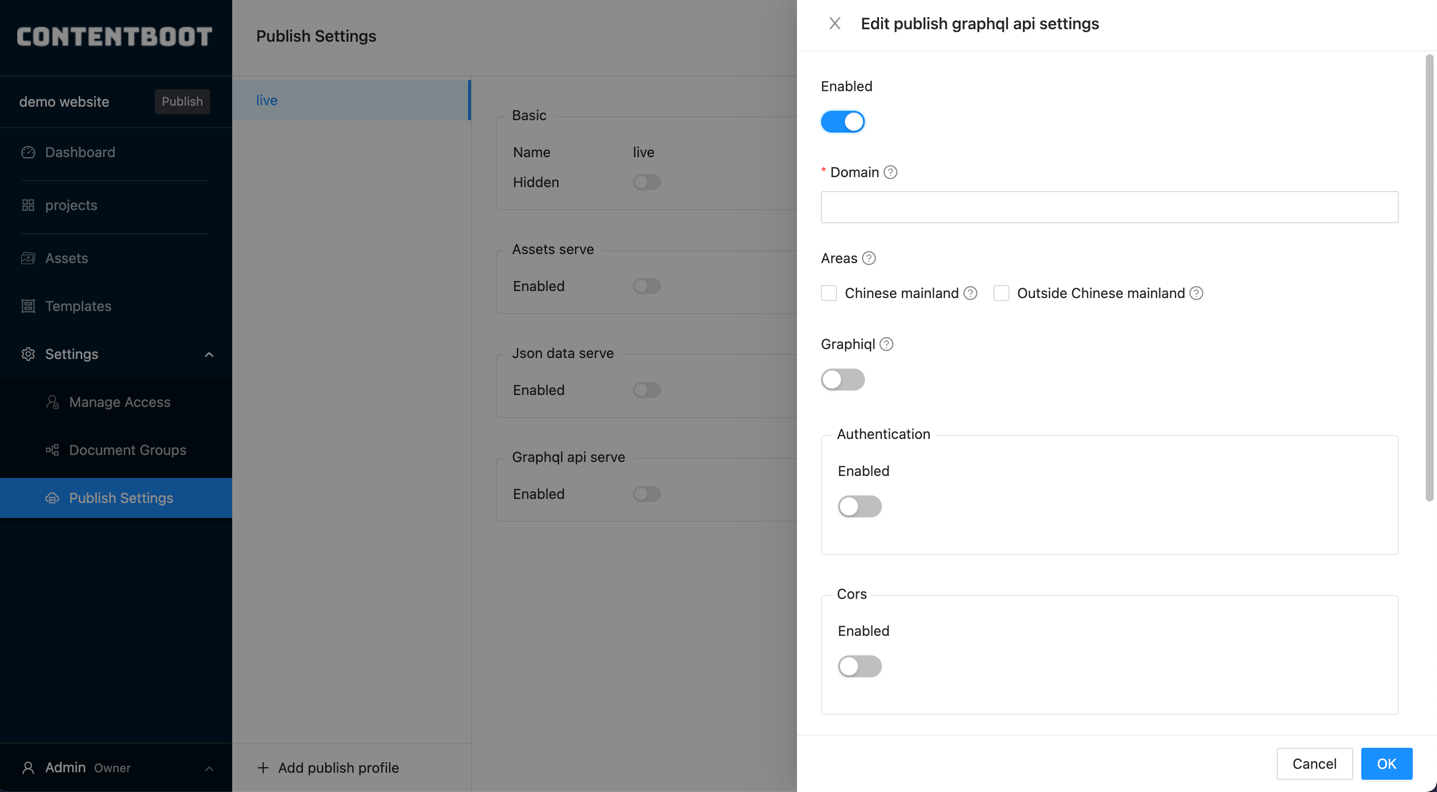
Click the edit button in GraphQL API serve to config the GraphQL API settings.
TIP
You can also use JSON data serve instead of GraphQL API serve if you data size is small.
Now all settings are configured.
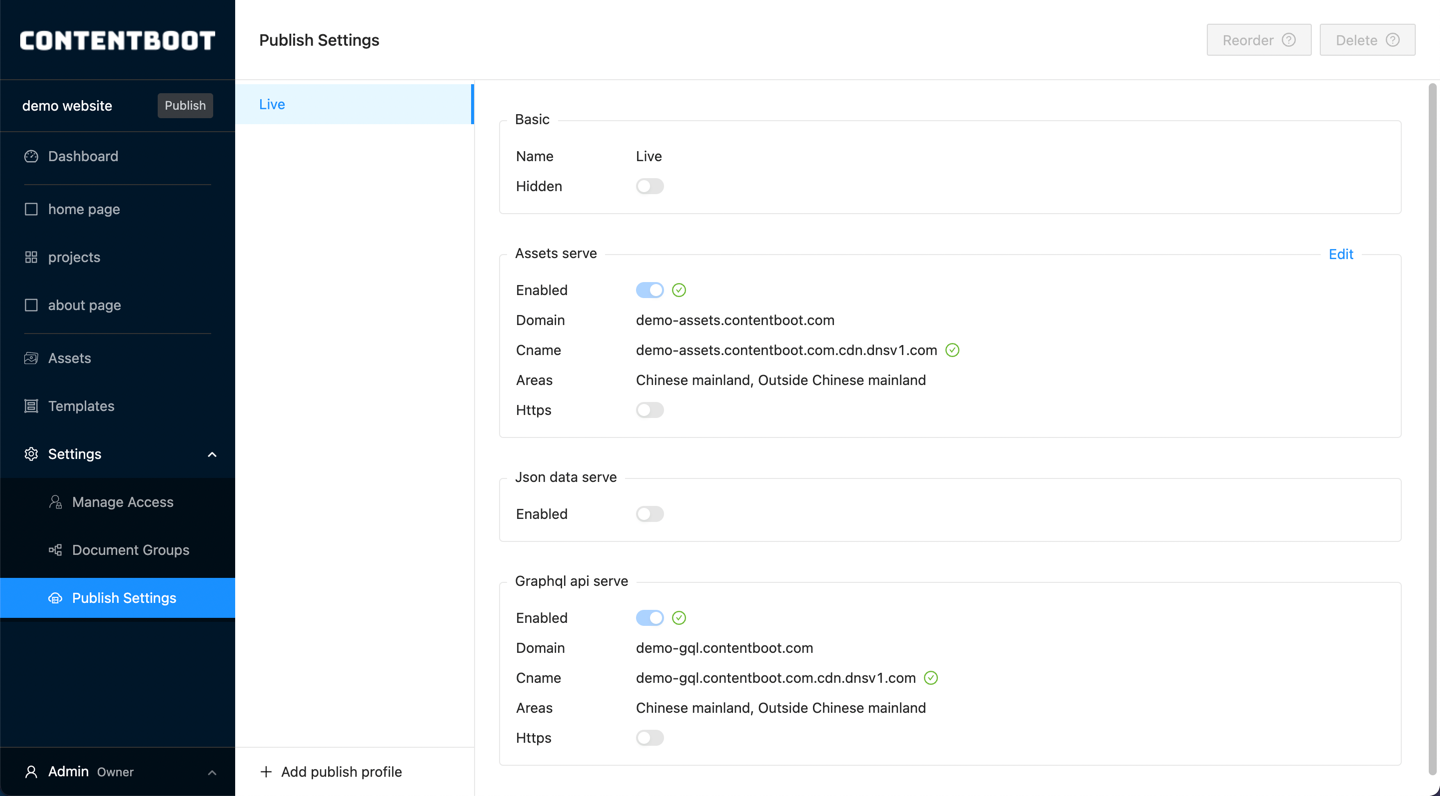
TIP
Don't forget to add CNAME record to DNS.
5. Add Document
Now we should fill the website content now.
Select the home page in menu to fill the content.
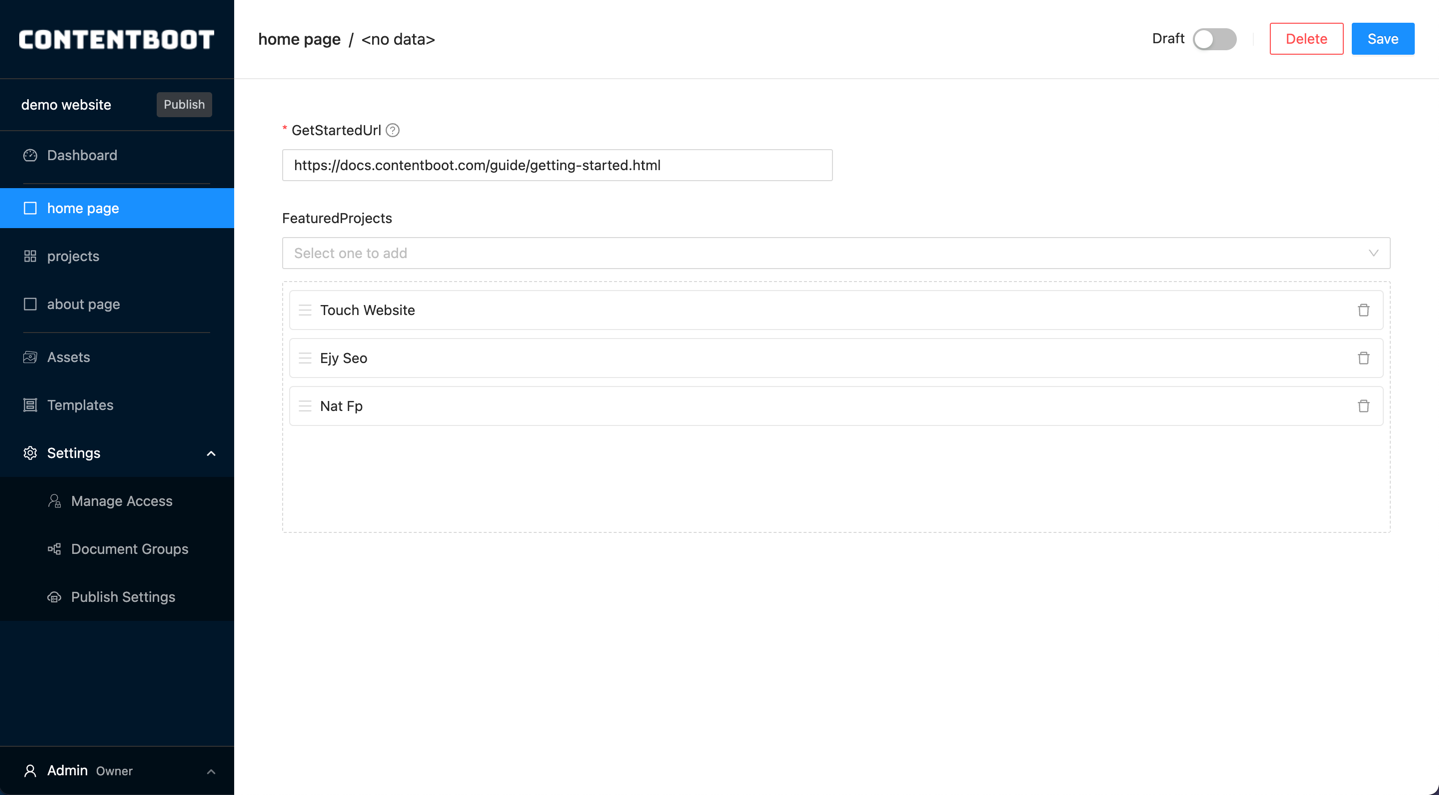
Select the projects in menu then click Add Project to add a project.
Select the about page in menu to fill the content.
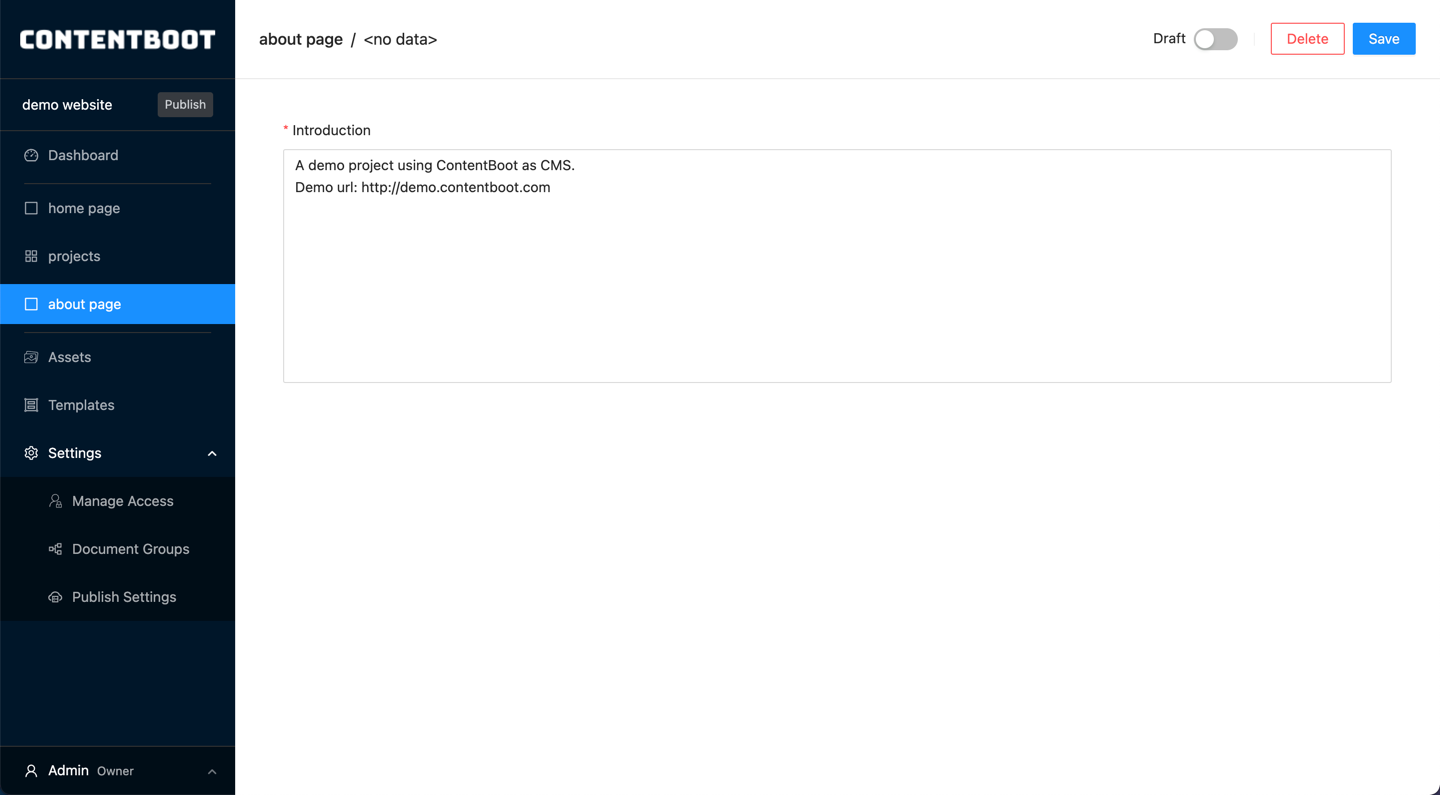
6. Publish
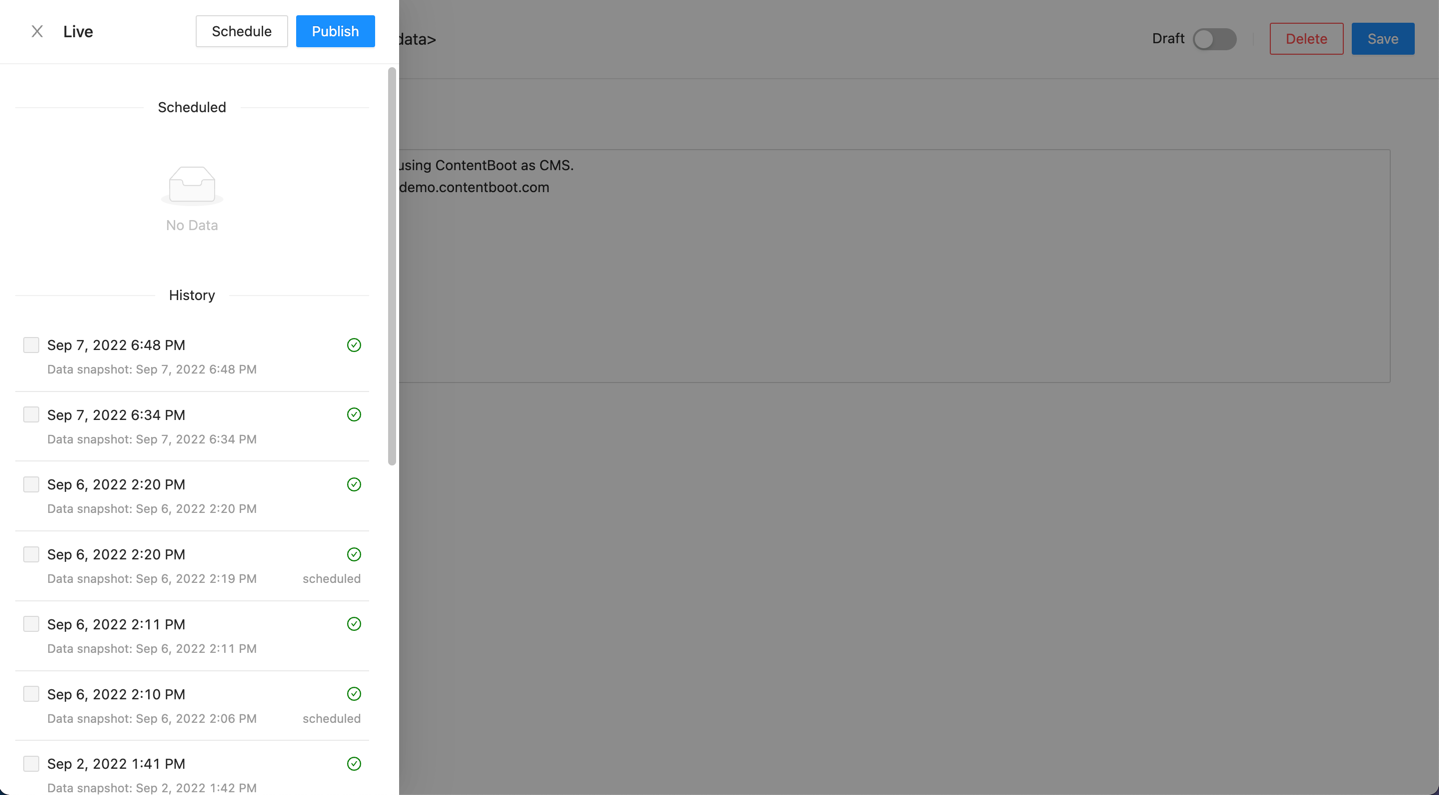
Click the Publish button next to the project name to do publish.
7. Fetch Data
Now all the ContentBoot side stuffs are done. You can write your code to fetch data from ContentBoot.
You can refer this code for the demo website. And refer JSON Data Serve and GraphQL API Serve for more detail.
